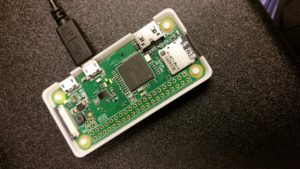
It’s not really a secret that I love messing with Raspberry Pis – I have one (a first generation Raspberry PI) that acts as a VPN server and a temperature controller for my homebrew beer keezer, I have one (a third generation Raspberry Pi) that acts as a streaming media server, I’m preparing one (a 0W) for a homebrew beer fermentation chamber, and I have a few more 0s and 0Ws for different uses. That being said, I’ve started to customize my own prep routine for getting a new Pi Zero W (and this is adaptable) running.
Card Setup
- Image latest OS onto card: Use Etcher (from etcher.io)
- Boot once (this fixes a few things, most notably the SD card size)
- Setup as Ethernet Gadget (thanks Adafruit!)
- Card /boot/config.txt -> add
dtoverlay=dwc2 - Card /boot/cmdline.txt -> after rootwait add
modules-load=dwc2,g_ether
- Card /boot/config.txt -> add
- Enable SSH: add file ‘ssh’ (no ext) in /boot/
- Alternative: sudo raspi-config – interfacing options – SSH – Yes
- Add wifi info:
- Card /boot/wpa_supplicant.conf
- Should look like:
network={
 ssid="YOUR_SSID"
 psk="YOUR_PASSWORD"
 key_mgmt=WPA-PSK
 }
Device – after boot
- Connect with PuTTY to
raspberrypi.local - Change password:
passwd - Update host information in
/etc/hostsand/etc/hostname - Reboot to force update to AVAHI (mDNS):
sudo reboot - Update software:
sudo apt-get updatethensudo apt-get upgrade - OPTIONAL: Install python pip:
sudo apt-get install python-pip
Notes:
There’s usually some easier ways to do these things, this is my way. As per usual, there’s at least six ways to skin the cat and at least four of them are correct.
The case is from Thingiverse.

